Where a good installation begins
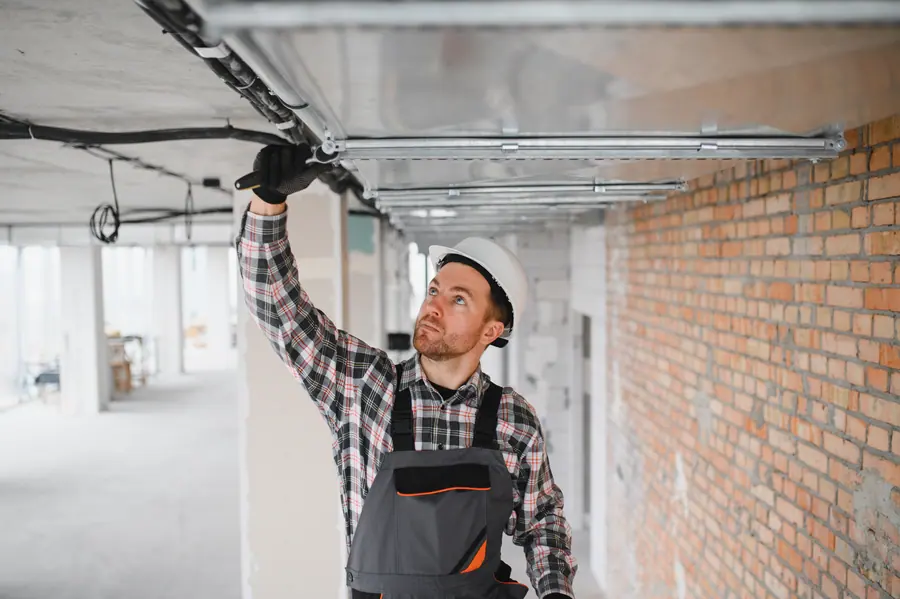
It begins with a tape measure, and with more measurements than most people expect. Width at the top, middle and bottom of the opening. Height on both sides. Headroom from the top of the opening to the ceiling or the lowest obstruction. Backroom from the opening to the rear wall. Sideroom at each jamb. And a level across the floor, because garage slabs are almost never flat.
Those numbers decide nearly everything that follows: the size of the door, the radius of the track, whether standard torsion springs will fit or a low-headroom kit is needed, and whether an opener can mount on the ceiling or has to go on the wall beside the door.
We also look at the framing. The jambs and header need to be solid, plumb and wide enough to carry the track brackets and spring anchor. On new construction that's usually ready to go. On an older detached garage it may need some carpentry first, and it's much better to learn that at the estimate than on installation day.
Choosing the door
This is the enjoyable part, and also where people feel most overwhelmed. It helps to make the decisions in order.
Construction
- Single-layer steel
- One sheet of stamped steel. Light and inexpensive, but it dents easily, rattles in wind and offers no insulation. Reasonable for an unheated shed or detached garage.
- Double-layer steel
- Steel outside, polystyrene insulation and a vinyl or steel backer inside. A solid middle option that's quieter and stiffer.
- Triple-layer steel
- Steel on both faces with polystyrene or injected polyurethane between. Strong, quiet and the best thermal performance. This is what we recommend for most attached garages here.
- Wood and wood overlay
- Real cedar, hemlock or mahogany, either solid or applied over an insulated steel base. Beautiful, heavier, and it needs finish care.
- Aluminum and glass
- Slim frames with glass panels for a contemporary look. Lets in daylight; choose insulated glass for our winters.
- Composite and faux wood
- Molded or clad surfaces that imitate wood grain without the upkeep.
Style
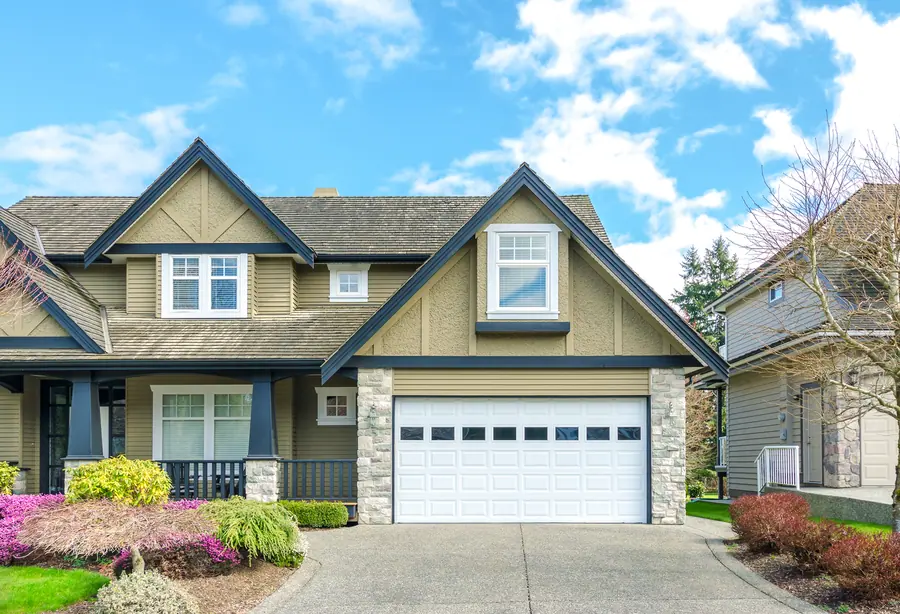
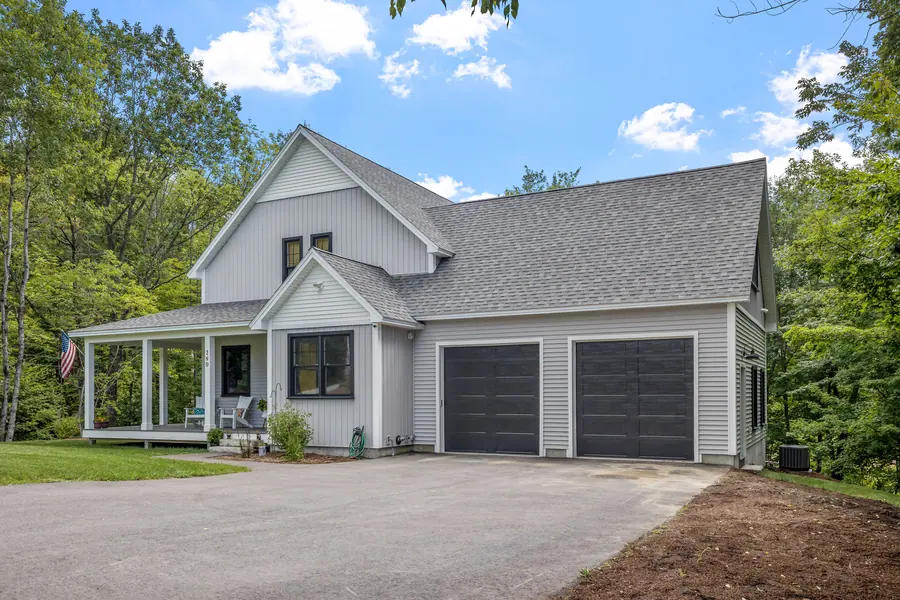
The door should look like it belongs to the house. Carriage house doors suit farmhouses, craftsman homes and cottages. Raised-panel traditional doors are at home on colonials and ranches. Flush and full-view designs fit modern builds. If nothing in a catalog feels right, a custom door can be built to your drawing.
Insulation
Insulation is measured by R-value: the higher the number, the slower heat passes through. For a heated or attached garage in Waukesha County we'd steer you toward a polyurethane-core door, which packs more insulating value into the same thickness and makes the door noticeably more rigid. More on that on our insulated doors page.
Windows and hardware
Glass along the top section brings daylight in without giving a view of what's stored inside. Frosted, seeded or tinted options add privacy. Decorative handles and strap hinges are cosmetic on a sectional door, but they change its character more than you'd think.
What installation day looks like
- Protect and prepareVehicles out, floor clear. If an old door is coming out, the springs are unwound safely and the sections removed one at a time.
- Set the bottom sectionIt's leveled to the floor rather than to the house, with the bottom seal scribed or shimmed so it meets the slab along its full width.
- Stack and hingeEach section goes up in turn, with hinges, rollers and reinforcing struts installed as we go. Wider doors get struts on more sections to stop sagging.
- Hang the trackVertical track is set plumb and spaced correctly off the door. Horizontal track is hung level or with a slight rise to the rear, and braced so it can't sway.
- Install the spring systemTorsion tube, drums, cables and springs go on. The springs are wound to the turn count for the door height and then fine-tuned by feel.
- Balance testThe door should lift with one hand and stay where you leave it. If it drifts, the springs are adjusted until it doesn't.
- Seal and trimPerimeter weatherstripping is installed to the jambs and header so it presses lightly on the door face.
- Connect the openerTravel limits and force are set, the safety reverse is tested, and remotes and keypads are programmed.
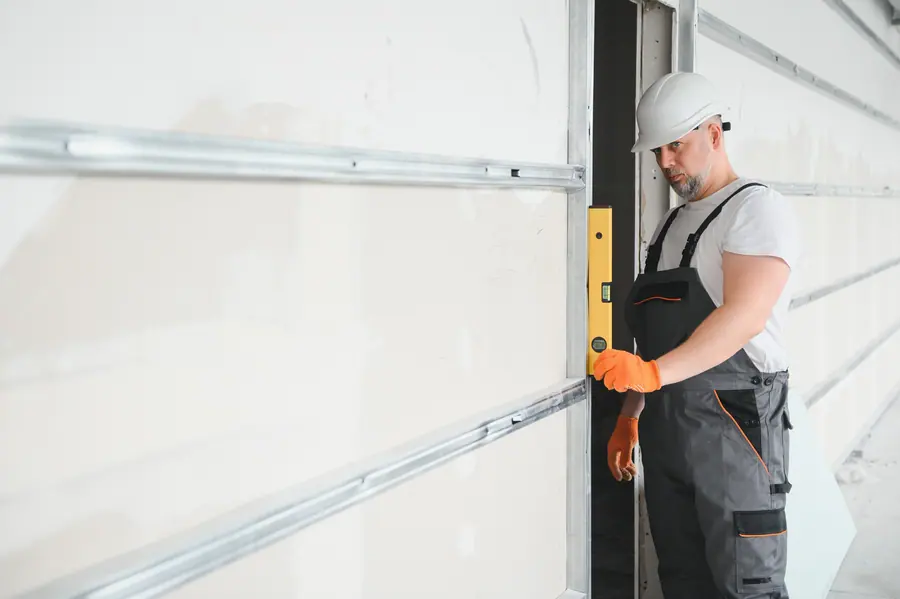
Mistakes we get called to correct
A fair amount of our repair work traces back to rushed installations. The same few problems come up again and again:
- Track that isn't plumb, so rollers ride hard against one side and wear out early
- Springs that don't match the door weight, leaving the opener to make up the difference
- No reinforcement bracket where the opener arm attaches, which eventually buckles the top section
- Horizontal track hung from undersized angle with no sway bracing
- Bottom seal that touches at the center and gaps at both corners
- Lag screws driven into drywall or trim instead of framing
None of these shows on day one. They show up in year two or three as noise, cracked panels and a dead opener. Getting them right adds an hour to the job and years to the door.
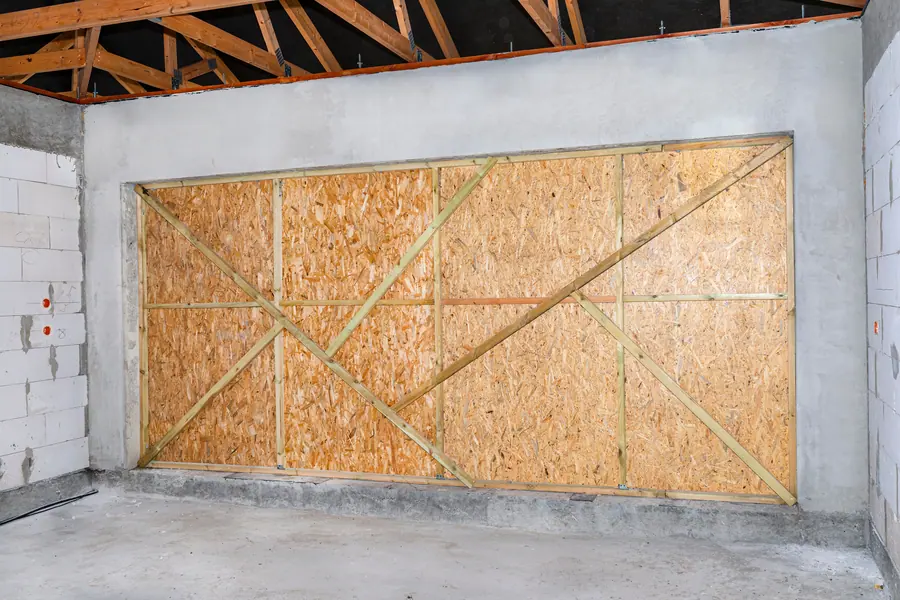
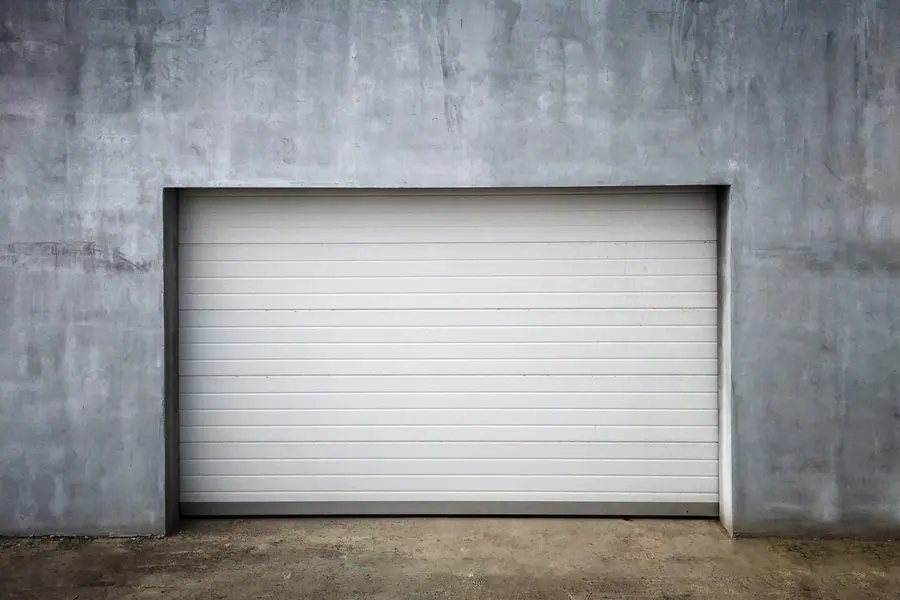 BEFOREAFTER
Before & after
A framed, boarded opening becomes a finished sectional door
The "before" image shows an opening that has been framed and temporarily sheathed with plywood — a common sight on a new garage or an addition while the owner decides on a door. It keeps the weather out, but that's all it does. There's no access, no insulation value to speak of and no security beyond a few screws.
The work illustrated here is a complete new-door installation: opening checked for square, jambs and header prepared, a sectional steel door assembled in place, track set, springs installed and balanced, and the perimeter sealed.
In the "after" image the door sits evenly in the opening with consistent gaps at both sides and a bottom edge that follows the floor. The practical gains are obvious — the garage is usable — but the less visible ones matter just as much: a door that's correctly balanced, sealed against drafts and ready for an opener without straining it.
Illustrative exampleThese two photographs are licensed reference images chosen to show the kind of change this service makes. They are not a record of one specific Delafield Garage Door job.
Building for a Delafield winter
Installing doors in this climate comes with a few extra considerations that don't appear in a manufacturer's generic instructions.
Slabs move. Frost heave lifts and tilts concrete over time, especially on detached garages with shallow footings. We set the bottom section to the floor as it is today and choose a bottom seal with enough give to take up small seasonal changes.
Cold changes the hardware. Vinyl stop molding stiffens and shrinks in January, so we set it with light pressure against the door rather than jamming it tight in summer. Lubricants are chosen to stay fluid at low temperatures.
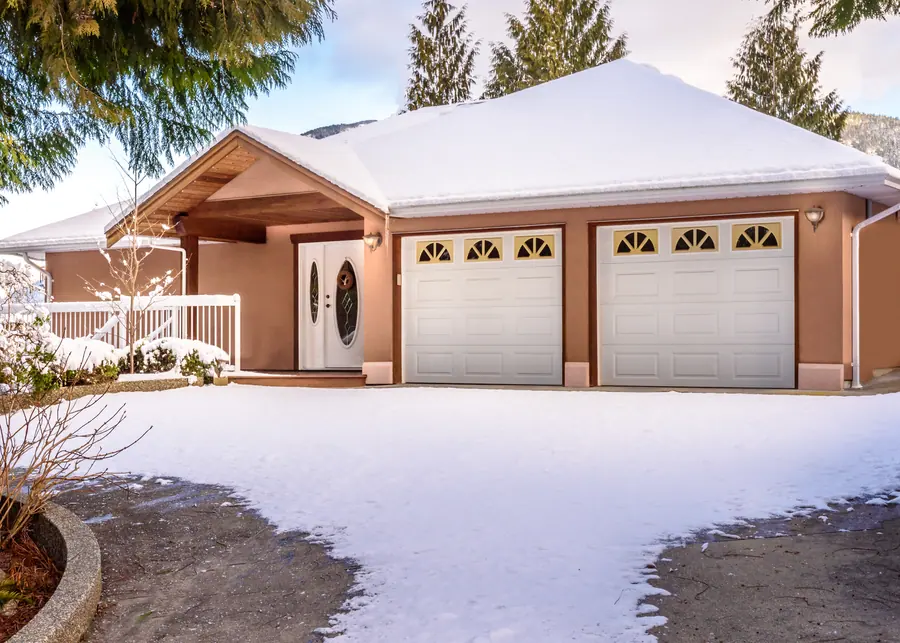
Wind finds the gaps. Homes on open ground west of town and along the lakes take the full force of winter gusts. A stiffer triple-layer door with struts and properly installed perimeter seals makes a real difference to how the garage feels.
Salt lives at the bottom. Stainless or coated bottom fixtures and a good aluminum retainer hold up better than bare steel against years of slush.
Why have it professionally installed
A garage door arrives as a pallet of sections, a box of hardware and a pair of springs that can cause serious injury if handled wrongly. Assembling it is well within the abilities of a skilled DIYer in theory. In practice, the spring winding alone is reason enough to hand it over, and many manufacturers tie their warranty terms to professional installation, so it's worth reading the paperwork before deciding.
There's also the value of someone who has done it hundreds of times. We know which openings need a low-headroom kit before the door is ordered. We know how to shim a jamb that's out by half an inch. And we take the old door away with us.
Installation questions
How long does it take to install a new garage door?
A standard door on a prepared opening typically takes a few hours. Add time if an old door has to be removed, if framing needs work or if a new opener is going in at the same visit.
What size garage door do I need?
The door is sized to the finished opening. Common single doors are 8 or 9 feet wide and 7 or 8 feet tall; doubles are usually 16 feet wide. We measure your opening rather than rely on nominal sizes, because many are slightly off.
Can you install a door where there has never been one?
Yes, provided the opening is properly framed with a structural header. If you're converting a carport or cutting a new opening, the framing should be done by a carpenter or builder first. We're glad to advise on the dimensions they should work to.
Do I need a new opener with a new door?
Not necessarily. If your current opener is in good condition, has working safety sensors and suits the new door's weight, it can stay. We'll check it and tell you plainly.
My garage has very little space above the opening. Is that a problem?
Low headroom is common in older garages and under bonus rooms. Special track and spring arrangements exist for it, and a wall-mounted opener can help. It's something we assess at the measuring stage.
Will a new door help with heating costs?
An insulated, well-sealed door slows heat loss from an attached garage and reduces drafts into adjoining rooms. How much you notice depends on the rest of the garage — walls, ceiling and the entry door all play a part.