What the sensors are for
Down near the floor on each side of your garage door, a few inches inside the track, there's a small plastic box with a lens. One sends an invisible infrared beam across the opening. The other receives it. As long as the receiver sees the beam, the opener knows the doorway is clear. If anything breaks it — a child, a pet, a bike wheel, a car bumper — a closing door stops and reverses at once.
They're called photo-eyes, safety eyes or safety sensors, and they've been required on every residential opener sold in the United States since 1993. Along with the opener's force-sensing reversal, they're the main protection against a door closing on someone.
They're also the single most common reason a healthy door won't close. That's by design. The system is built to fail safe: if the opener isn't certain the beam is intact, it refuses to close.
How to read the symptoms
- Door won't close; opener light flashes
- The classic sign. The opener is reporting that it can't see a clear beam.
- Door starts down and reverses
- Something interrupted the beam mid-travel, or the alignment is marginal and vibration breaks it.
- Door closes only if you hold the wall button
- Holding the button overrides the sensors. It proves the opener works and the sensors don't.
- One sensor light is off or blinking
- Each eye has an indicator. Steady means good. Blinking or dark on the receiving side means no beam; dark on the sending side means no power.
- Works in the morning, not in the afternoon
- Sunlight is hitting the receiver directly.
- Works sometimes
- A loose wire, a failing sensor or a bracket that moves when the door vibrates.
- Neither light is on
- A wiring fault back to the opener, or a failed logic board output.
The causes, from most to least common
Knocked out of alignment
The brackets are thin steel and sit exactly where trash cans, shovels, bikes and feet go. A slight knock tips the eye by a few degrees and the beam misses.
Dirty lenses
Dust, cobwebs, salt spray and condensation. A lens doesn't have to be filthy to weaken the signal.
Something in the way
A leaf stuck to the lens, a box edged into the beam, a broom leaning against the track. Always worth a look first.
Damaged wiring
The low-voltage wire from each sensor runs up the wall and across the ceiling to the opener. It gets stapled through, pinched, chewed by mice, corroded at the terminals, or snagged and pulled loose.
Sunlight
When the sun is low and shining straight into the receiving eye, it swamps the infrared signal.
A failed sensor
The electronics inside do wear out, especially after moisture gets in.
Mismatched or bypassed sensors
We find sensors from a different brand wired in, and sensors taped facing each other on top of the motor. Neither is safe, and the second defeats the purpose.
Checks you can do yourself
These are safe and often solve it.
- Look at the indicator lightsFind the LED on each sensor. Note which is steady, blinking or off.
- Clear the pathRemove anything near the beam line on either side.
- Wipe the lensesA soft, dry cloth.
- Check the bracketsAre both sensors pointing straight across at each other? Gently adjust the blinking one until its light goes steady, then snug the wing nut.
- Check they're at the same heightBoth should sit level with each other, no more than six inches above the floor.
- Look along the wiresAny obvious cuts, loose staples or wires pulled from the back of the sensor.
- Try it at a different time of dayIf the problem only happens when the sun is on one side, shade the receiver with your hand and test.
If the lights are steady and the door still won't close, or the lights won't come on at all, the fault is in the wiring, the sensors or the opener.
How we repair sensor problems
- Confirm it's the sensorsWe check the opener's diagnostic indication and rule out travel-limit, force and door-binding faults that mimic it.
- Inspect mounting and alignmentBent brackets are straightened or replaced; sensors are set level and square to each other.
- Test the wiringContinuity and voltage from the opener terminals to each sensor. Damaged runs are replaced, not spliced with tape.
- Clean and check the lensesIncluding for internal fogging.
- Replace failed sensorsWith the correct matched pair for the opener.
- Deal with sunlightSwap sender and receiver sides so the receiver faces away from the sun, recess the sensors slightly, or add a shield.
- Secure everythingBrackets tight, wire stapled properly clear of moving parts.
- Test thoroughlyThe beam is broken at several points across the opening while the door closes; then the contact reversal is tested with a board on the floor.
Sensors must match the opener
It's worth knowing that photo-eyes aren't universal. Each opener manufacturer uses its own signaling, and sensors are part of the opener's certified safety system. Fitting a different brand, or an alarm-type beam sensor, may make the light come on without providing real protection.
When a sensor fails we replace the pair with the correct type for your unit. If the opener is old enough that its sensors are no longer made, that's a strong argument for replacing the opener.
Shortcuts to avoid
- Don't tape the sensors together or mount them on the ceiling. The door will close, and it will close on anything.
- Don't raise them above six inches. The height is set so a small child or pet lying on the floor breaks the beam.
- Don't keep using the hold-to-close override as routine. It's there for emergencies.
- Don't turn up the opener's force hoping it'll push through. Force has nothing to do with the photo-eyes and raising it makes the door less safe.
- Don't splice in random wire. Use proper low-voltage cable with sound connections.
 BEFOREAFTER
Before & after
A dirty, neglected sensor location compared with tidy, secure control wiring
The "before" image shows a grimy, stained corner where a small device and its wiring are mounted to the wall. Dirt has built up over everything, the cabling is exposed, and moisture has clearly been at work. It's representative of how sensor locations often look after years at floor level in a garage: splashed, bumped and never cleaned. In those conditions lenses cloud, terminals corrode and wires work loose.
The repair illustrated is a sensor and wiring service: failed components replaced, new cable run and secured, brackets set true, and the system tested.
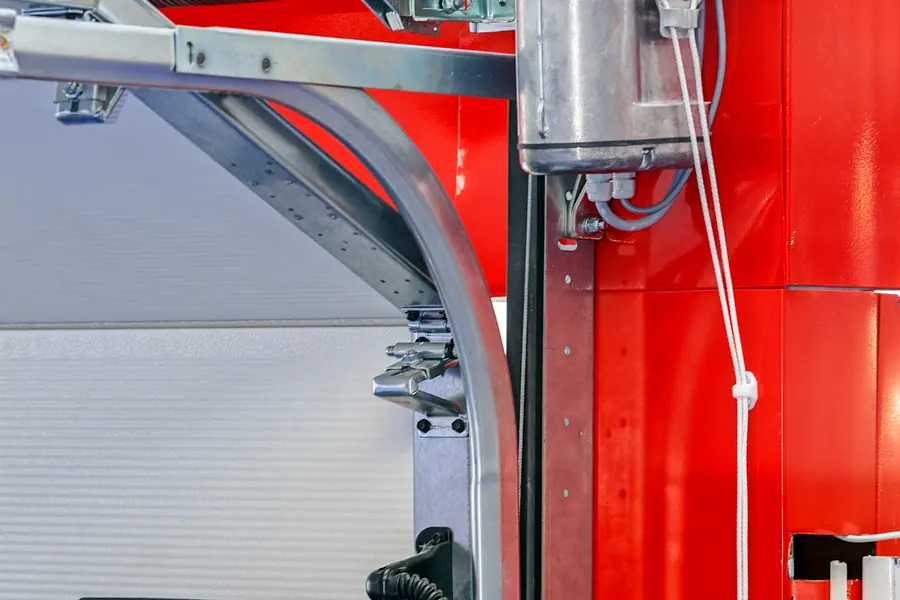
The "after" image shows equipment mounted cleanly with orderly wiring and a proper control station. Everything is fixed firmly and protected. For a homeowner, that tidy installation means sensors that hold their alignment, connections that don't corrode, and a door that closes on the first press and reverses the instant something crosses the threshold.
Illustrative exampleThese two photographs are licensed reference images chosen to show the kind of change this service makes. They are not a record of one specific Delafield Garage Door job.
Sensor trouble in a Wisconsin winter
We get more sensor calls between November and March than in the other seven months together. The season stacks the deck in several ways.
Low sun. In December and January the sun barely clears the treeline. For a garage that faces east or west, there's a time each day when sunlight shines straight along the floor into the receiving eye. The door works at noon and not at four.
Snow and ice. A shovelful of snow thrown aside lands against a sensor. Meltwater freezes on a lens. A snowblower chute sprays the opening. Ice builds on the bracket and tilts it.
Road spray. Salt and grime from the car's wheels coat the lenses within days.
Condensation and frost. Warm, wet air from a just-parked car condenses on cold lenses and can freeze there.
Bumps. Winter means more gear by the door: shovels, salt buckets, sleds, boots. The brackets get knocked.
Mice. As it gets cold they move indoors, and low-voltage wire insulation is apparently appealing.
Frost heave. If the slab or the bottom of the track shifts with the frost, sensors mounted to it move out of line.
A few habits help: wipe the lenses when you rinse the car, keep the corners by the door clear, and if afternoon sun is a problem, ask us to swap the sensors side for side. It's a ten-minute change that usually cures it for good.
Why have a technician look at it
Wiping a lens and nudging a bracket is homeowner territory, and we'd encourage you to try. If that doesn't solve it, the fault takes a meter and some experience to trace.
A technician will also confirm that the sensors are the correct type, mounted at the correct height, and that they stop the door when tested — not just that the lights are on. And since a door that won't close is sometimes caused by travel limits, force settings or a trash canding track, we check those too.
Sensor questions
Why is one of my garage door sensors blinking?
A blinking light usually means that sensor isn't seeing the beam from the other. Check for obstructions, clean both lenses and realign them until the light is steady.
Why does my door close only when I hold the button down?
Holding the wall button overrides the safety sensors. It means the opener is working but the sensors are misaligned, obstructed, miswired or faulty.
Can sunlight really stop my garage door closing?
Yes. Direct low-angle sun on the receiving sensor can overwhelm the infrared beam. Swapping sides or shading the sensor fixes it.
How high should the sensors be?
No more than six inches above the garage floor, and level with each other.
Can I replace my sensors with any brand?
No. Sensors must be compatible with the opener. Using the wrong type can leave the door without proper protection.
Is it safe to bypass the sensors temporarily?
We'd advise against it. Without them the door will close on whatever is in the opening. Use the hold-to-close override while watching the door, and have the sensors repaired.