Which opener is right for you?
Walk into a hardware store and the wall of boxes all looks alike. The differences that matter are the drive type, the motor and the features. Here's how we'd explain them over the hood of the truck.
Drive types
- Chain drive
- A steel chain pulls the trolley along the rail. Strong, proven and the least expensive. Also the noisiest. Fine for detached garages and anywhere noise isn't a concern.
- Belt drive
- A steel-reinforced rubber belt in place of the chain. Much quieter and smoother. Our usual recommendation for attached garages, especially with living space above or beside.
- Screw drive
- A threaded steel rod turns to move the trolley. Few moving parts. Can be sensitive to temperature swings and needs the right lubricant in cold climates.
- Wall mount (jackshaft)
- Mounts on the wall beside the door and turns the torsion shaft directly. No rail, nothing on the ceiling. Ideal for high ceilings, low headroom, or garages with storage or a car lift overhead. Requires a torsion spring system and a little sideroom.
- Direct drive
- The motor itself travels along a fixed chain. Very quiet with a single moving part.
Motors
Older openers use AC motors rated in horsepower: 1/2 HP for most doors, 3/4 HP for heavier ones. Newer units increasingly use DC motors, which are smaller, quieter and able to start and stop gently. They're also what makes battery backup practical. For a standard insulated steel double door, a 1/2 HP equivalent is enough if the door is balanced. Heavy wood or oversized doors want more.
Remember that the opener doesn't lift the door's weight — the springs do. More horsepower isn't a cure for a door that's hard to move.
Features worth having
The remote's code changes on every press, so it can't be captured and replayed. Standard on all current openers.
Required on every modern opener. They stop the door closing on anything in its path.
Runs the door during a power outage. Very worthwhile here; see our battery backup page.
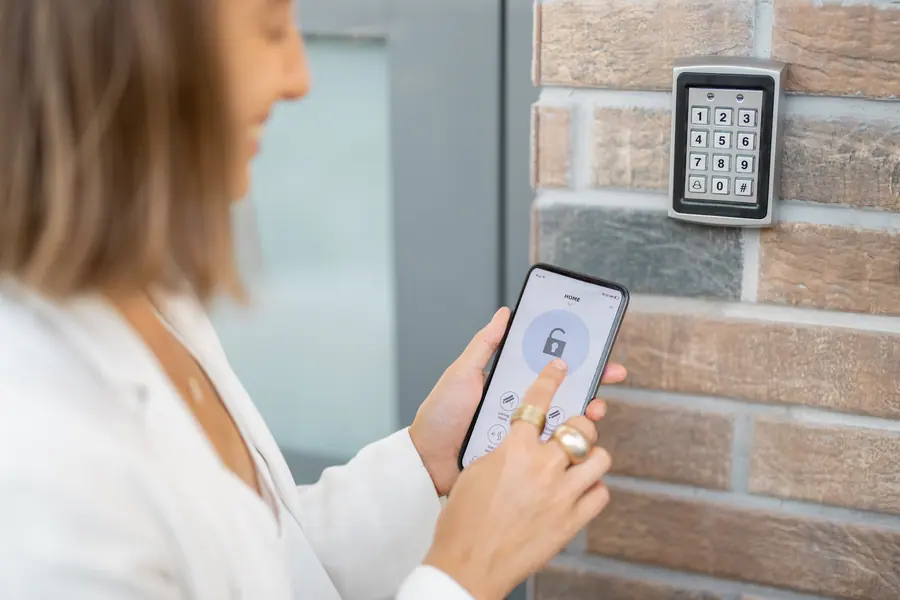
Open, close and check the door from your phone, with alerts if it's left open. More on our smart opener page.
Eases the door into motion. Quieter and kinder to the hardware.
Bright, efficient and doesn't interfere with the radio the way some bulbs do.
A deadbolt that engages when the door closes, on some models.
Shuts the door automatically after a set time if you forget.
Before the opener goes in
An opener is only as good as the door it's attached to. Before we install one, we check a few things.
- Balance. The door must lift easily by hand and stay put. If the springs are weak, they're corrected first.
- Free travel. No binding, rubbing or worn rollers.
- Top section reinforcement. The opener arm pushes and pulls on the top section. Without a reinforcement bracket or strut, it will eventually crack the panel.
- Headroom and backroom. There must be clearance above the door's highest point for the rail, and enough depth behind for the motor unit.
- Power. A grounded outlet within reach of the unit, on the ceiling for a rail opener or on the wall for a jackshaft.
- Framing. Solid wood above the door for the header bracket and joists or blocking to hang the motor from.
If any of those are lacking, we'll tell you what's needed.
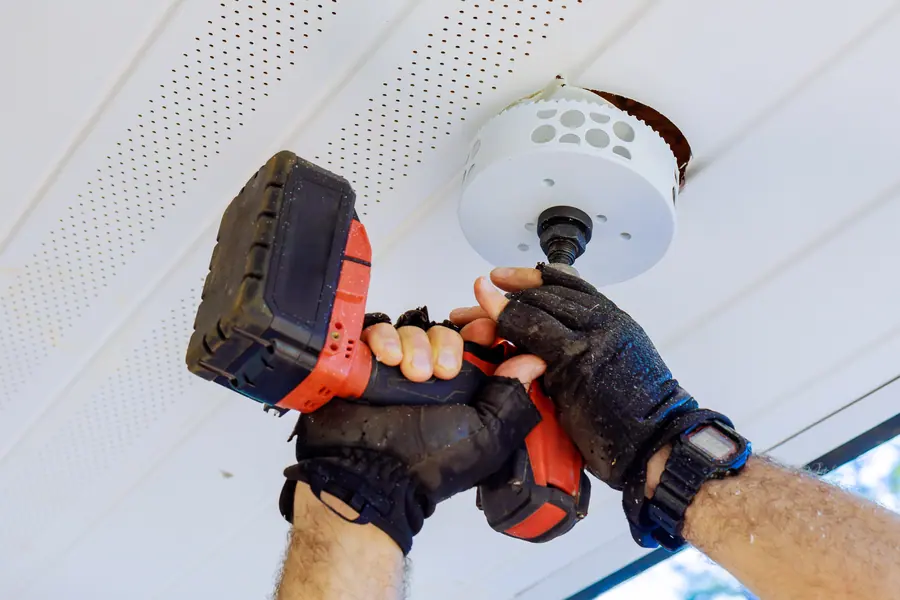
How we install an opener
- Assemble the rail and driveChain or belt tensioned to the manufacturer's specification.
- Fix the header bracketCentered above the door and lagged into the header or solid blocking.
- Hang the motor unitSuspended from punched angle iron fastened to the joists, braced so it can't sway, and level with the rail.
- Fit the door bracket and armBolted through a reinforcement bracket on the top section. The arm is set at the correct angle.
- Mount the photo-eyesNo more than six inches above the floor on each side, aligned and wired neatly back to the unit.
- Install the wall controlAt least five feet up, within sight of the door.
- Set travel limitsThe door should open fully and close to a firm seal without straining.
- Set and test forceThen the important part — the reversal test with a 2x4 laid flat, and the photo-eye test.
- Program remotes, keypad and vehiclesIncluding in-car buttons where installed.
- Connect to Wi-FiFor smart units, the app is set up and tested with you.
- Walk you through itThe manual release, the lock function, the battery, and what the indicator lights mean.
A standard installation is generally a half-day job or less.
Installation mistakes we're asked to correct
We see a lot of openers put in by the previous owner's brother-in-law. The same errors come up.
- Header bracket screwed into drywall or thin trim
- Motor hung from perforated strap that lets it swing
- No reinforcement on the top section, with a crack already forming
- Force turned to maximum to overcome an unbalanced door
- Photo-eyes mounted on the ceiling or taped together beside the motor
- Sensor wire stapled through its insulation
- Rail not centered, pulling the door sideways on every cycle
- The wrong bulb, causing radio interference and poor remote range
All of these shorten the opener's life or defeat its safety features.
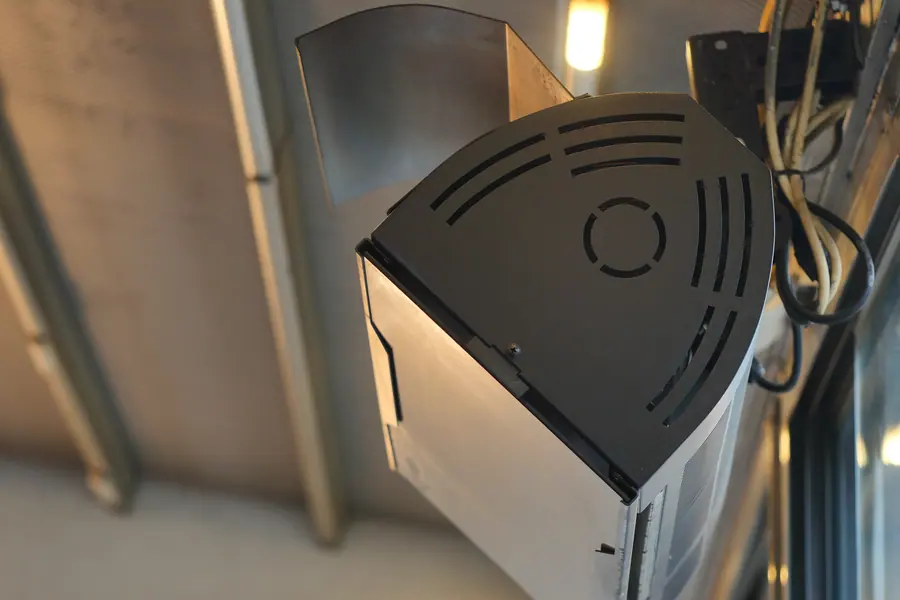
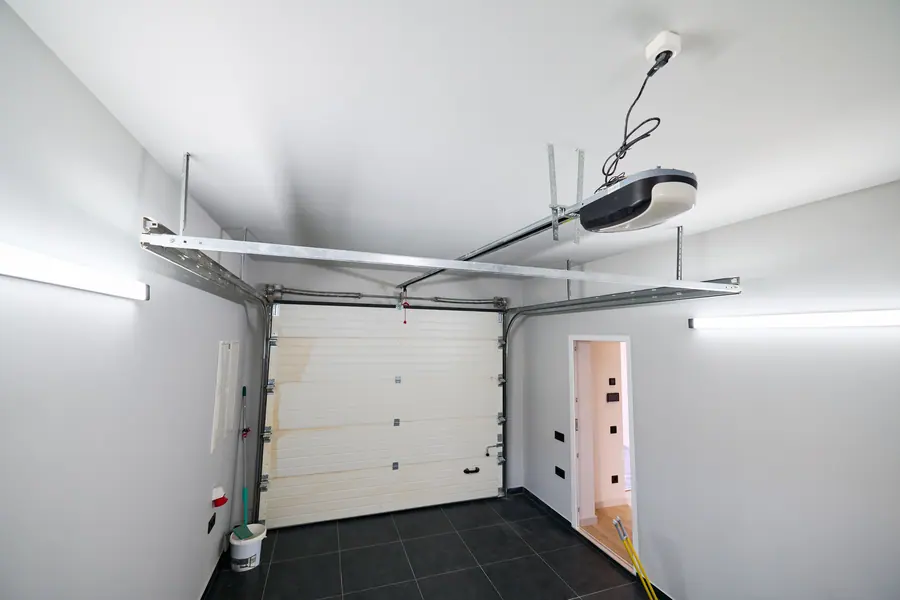 BEFOREAFTER
Before & after
An older ceiling unit compared with a modern opener and rail
The "before" image shows an older piece of ceiling-mounted equipment beside a door track, dated in design and well past its best. Units of this vintage tend to be loud, lack current safety sensors, and often use radio controls that are easy to defeat. Their mounting hardware has usually loosened over the years as well.
The work illustrated is a new opener installation: the old unit and rail removed, a modern opener installed on solid mounts, photo-eyes installed at the correct height, and the door's top section reinforced.
In the "after" image a compact motor unit sits at the ceiling with a straight rail running to a white insulated door, in a clean, well-lit garage. What the homeowner gains is considerable: quiet operation, a door that reverses reliably for people and cars, secure rolling-code remotes, and on many models phone control and battery backup.
Illustrative exampleThese two photographs are licensed reference images chosen to show the kind of change this service makes. They are not a record of one specific Delafield Garage Door job.
Choosing and installing for a Delafield winter
A few of our recommendations are shaped directly by the climate.
Battery backup is close to essential. Ice storms and heavy snow knock out power in Lake Country often enough that being able to get the car out matters. Most DC-motor openers offer it.
Belt drives cope well with cold. The reinforced belt stays flexible. Screw drives need more care, since their rail grease can stiffen.
Force needs seasonal margin. We set it so the door closes reliably in January without being so high it won't reverse in July.
Sensors should be positioned thoughtfully. Where one side of the door gets low winter sun, we put the receiving eye on the shaded side or fit a sun shield.
LED bulbs rated for garages work in the cold and won't disrupt the remote signal.
A surge protector on the opener's outlet guards the logic board against storm-related surges.
Wall-mount units free the ceiling in garages where a rail would sit just beneath an uninsulated roof deck, and they keep the motor at a more stable temperature beside the door.
Why professional installation
A capable homeowner can assemble an opener kit. What the instructions can't give you is judgment about the door.
Is it balanced? Does it need a strut? Is the header solid? Will the rail clear the door at its highest point on low-headroom track? Is there a torsion shaft suitable for a jackshaft? Those questions decide whether the opener lasts three years or fifteen.
Then there are the safety settings. Travel, force and sensor alignment aren't optional fine-tuning. They're what stops a 200-pound door closing on a child or a car. We test them on every installation.
Opener installation questions
What size opener do I need?
For most balanced residential doors, a 1/2 HP or equivalent DC unit is sufficient. Heavy wood, oversized or carriage doors may need 3/4 HP or more.
Is a belt drive worth the extra cost?
If the garage is attached, yes. The difference in noise is obvious, particularly in rooms above or beside the garage.
Can you install an opener I bought myself?
Generally yes, provided it's suitable for the door. We'll check the door's condition first and advise if anything else is needed.
Do I need an outlet on the ceiling?
A rail-type opener needs a grounded outlet near the motor unit. If there isn't one, an electrician can add it; we can let you know where it should go.
How long does installation take?
Typically two to four hours, including setup and testing.
Will my car's built-in remote work with a new opener?
Most in-car systems are compatible, sometimes with a small bridge device for newer openers. We'll program it during the visit.